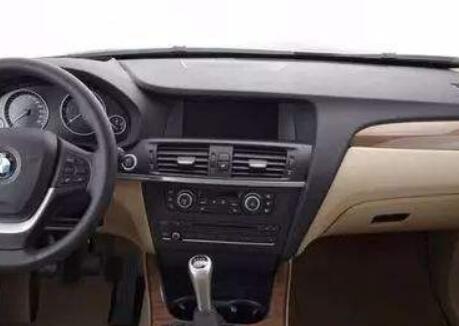
Installation manual for BMW X3 X4 Navigation GPS Android screen replacement
This article with below contents:
A, How to replace factory BMWX3 X4 F25/26(2011-2016) auto-radio and CD system with aftermarket navigation Android Screen.
B, When you order the aftermarket Android BMW X3 X4 Navigation, what should pay attention to before placing an order?
- For the BMW X3/X4 F25/F26 (2011-2013), It is CIC system, the LVDS is 4 PIN, Thus, you should order an 8.8 inch screen [B253] or 10.25-inch screen [B243]
- If your BMW X3/X4 F25/F26 (2014-2016), it is factory NBT menu, the LVDS is 6 PIN, thus, you should order 8.8-inch screen [B223] or 10.25-inch screen [B263]
Downlaod the installation wire-diagram (CIC NBT) as below:
Installation guidence:
Before installation

1: Remove the cover in the bottom 2, Remove Vents

3: Remove 3 connectors on the back of vents 4: Remove the 6 screws so that to take off the factory monitor & AC control panel & Radio control panel

5: Remove 2 connectors on the back of AC control panel 6: Remove 4 screws, then remove the factory radio head unit

7: Remove the original power harness from the radio head unit 8: Remove the 2 optical fiber cable from the factory harness, and insert it into our power cable (female connector)

9, Connect our power cable (female) to factory CD head unit 10, Install the factory radio head unit back to the dashboard

11, Remove the LVDS cable from the factory screen 12, Connect the Power cable/LVDS/GPS antenna /USB cable to the android screen

13, Install the android screen 14, Recover the dashboard, the installation is done


Comments
0 comments