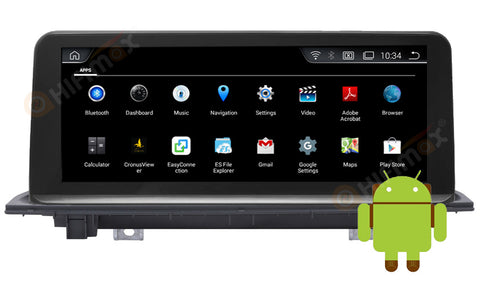
Installation for BMW X1 F48 Navigation GPS head unit
Replacing factory BMW X1 F48 (2016-2018) auto radio and CD system with
aftermarket navigation Android screen is popular in recent years.
No matter you have a For BMW X1 F48(2016-2017)Original NBT System, Or For BMW X1 F48(2018) Original EVO system, you can install the Android screen in the same way. 
If your car is BMW X1 F48 (2016-2017), the factory with NBT system, then please order [B209]
If your car is BMW X1 F48 (2018), the factory with EVO system, then please order [B509]
PS: If your car with factory EVO menu, and it is a touch screen, you need to tell us this situation, because we need to use different hardware and software for it, read more
Downlaod the installation wire-diagram (CCC CIC NBT) as below:
Downlaod the installation EVO wire-diagram as below:
Installation steps:
1: Before installation 2, Remove the Air outlet panel

3: Before pulling out the Air outlet panel, you need to remove the AC panel in the bottom 4, Remove the AC panel

5, Remove the 2 screws and take out the factory head unit 6, Remove the 2 screws and take out the factory screen

7: Remove the LVDS connector from Factory screen 8: This factory LVDS(6 pins) connect to our android screen

9: Remove the car original screen bracket 10: replaced it with our screen bracket

11, After removed 2 screws (step 5), now remove the factory harness from the back of Factory CD head unit

12, Our wire connections showed as below photo:

A: Connect our power cable to factory CD head unit B: Connect our power cable to the factory power harness

C, Connect the Power cable/LVDS/GPS antenna to the back of our android screen 13: Install the GPS antenna

14, Connect the AUX [ ps: If the car from 2017-2018 with EVO menu, the sound go via USB, thus, no need to connect AUX) 16, Connect the AUX (under armrest box )

15, Double check the wire connection and power on, and test all functions before recovering the car dashboard.


Comments
0 comments